-
-
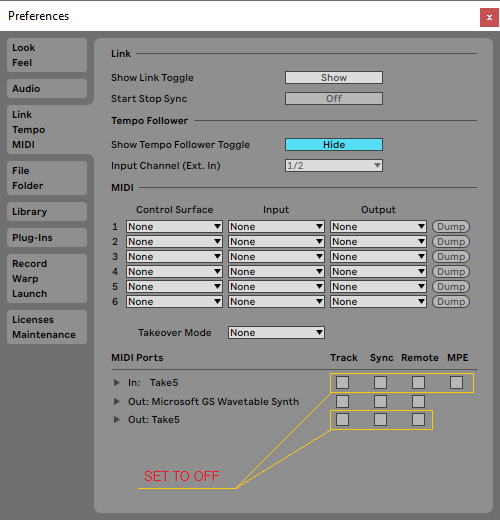
The PlugSE is designed to serve as a bridge between the host and the synthesizer and in principle the TAKE 5 should be connected directly to the PlugSE via MIDI. By default, most of the VST hosts are set to grab all MIDI ports on startup and this may create a connection problem for PlugSE users.
If you are using a Windows PC many MIDI interfaces including TAKE 5 USB MIDI are
not multi-
Here is what you should do:
-
-
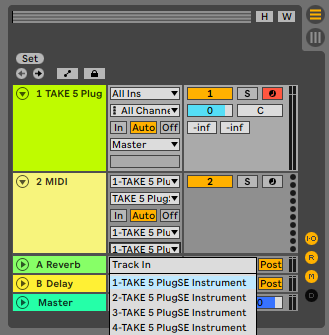
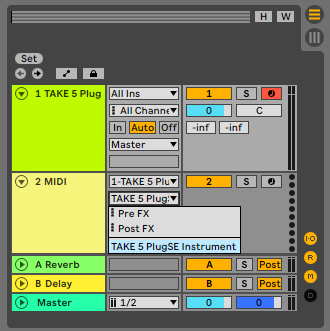
USING TAKE 5 PLUGSE IN ABLETON
-
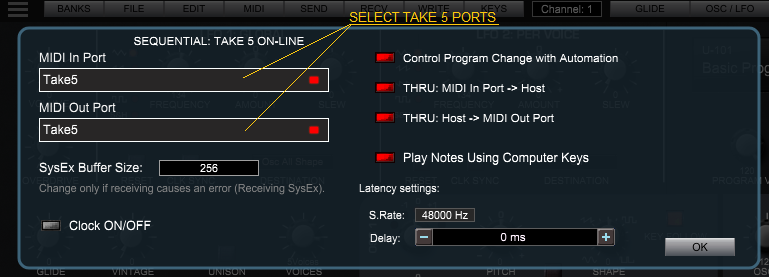
To establish proper MIDI communication between TAKE 5 and the PlugSE/Editor:
Please make sure that the Global Parameters are set MANUALLY (not through the computer) on Prophet 6 as follows:
-
-
-
-
MIDI Sysex On: On
MIDI Sysex Cable: MIDI or USB depending on your connection.
MIDI Out Select: MIDI or USB depending on your connection.
Also, please make sure that the MIDI track channel has the same MIDI channel as the TAKE 5 MIDI Channel or the TAKE 5 MIDI channel is set to ALL.
-